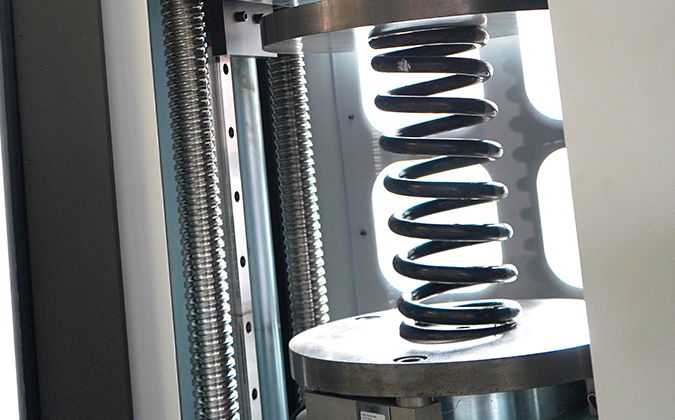
The optimisation module for compression springs is used to find particular objectives, like weight or length, based on your given parameters. This can be extremel useful if have to work to tight specifications or you want to find a specific value.
You can click to play the video or follow the step-by-step guide below.
Optimisation
- Start by creating a new compression spring
- Open the optimisation window by clicking ‘New Optimisation’ from the toolbar at the top.
- The window is split into three areas; Design Options, here you can change the specifics of your spring like the material, required fatigue life etc. Design Requirements is where you choose your design objective and enter the specifics of your spring. Calculated Data shows an output of data based on the parameters you have calculated.
- Let’s start by finding the minimum spring weight based on loads and lengths. Set your ‘Objective’ under Design Requirements to ‘Minimum’ + ‘Spring Weight’ from the dropdown menus
- In the grid below enter the loads and lengths for your spring. We entered: L1 min and max 50 mm, P1 min and max 50 N, L2 min and max 35 mm, P2 min and max 200 N
- Choose a ‘Grade’ of material under Design Options, we chose DM, and click Calculate
- Based on the data you have provided the value will show in the ‘Objective’ box under Calculated Data, our spring weight is showing 13.6 grams
- Excellent, now you have the weight of your spring based on your given inputs!
That’s a fairly simple requirement of meeting loads and lengths, which isn’t too hard to design on the validation window, but things can get more complex.
Adding Complexity
- Using the data from above let’s change our design objective.
- Let’s add in an OD constraint and say we’re searching for the shortest working length we can get to with the same spring rate we’ve been using so far
- Add in a max OD of 30 mm, add 10 N/mm min and max for Spring Rate and remove all min and max data from L2 and P2
- Now change the design objective. Choose ‘Minimum’ + ‘Operating Length L2’ from the dropdown menus
- Click calculate
- You will see a minimum operating length of 23.43 mm in the Calculated Data objective.
The optimisation tool is extremely flexible and can be used in many different ways enabling you to fine tune your design to any given parameter.
If you have any questions about this guide, please email help@ist.org.uk.


